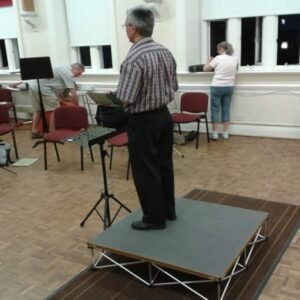
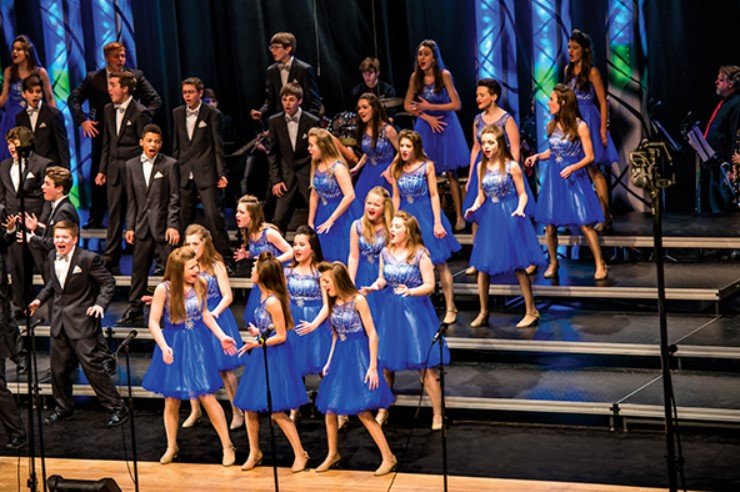
You can rehearse for weeks, nail every harmony, and still lose the room if the choir looks like a single flat line of heads. That’s what portable choir risers fix—when they’re chosen and set up properly.
But schools in the UK face the real-world problems:
- tight storage in PE/drama cupboards
- limited staff time on event day
- uneven hall floors
- pupils who move, shuffle, and forget they’re on a platform
- rails that feel “optional” until you need them
This guide shows how to choose portable choir stage risers for schools, set them up safely and quickly, and store them so the next concert doesn’t start with a frantic cupboard search.
What Are Portable Choir Risers (and Why Schools Use Them)?
Portable choir risers are tiered platforms that:
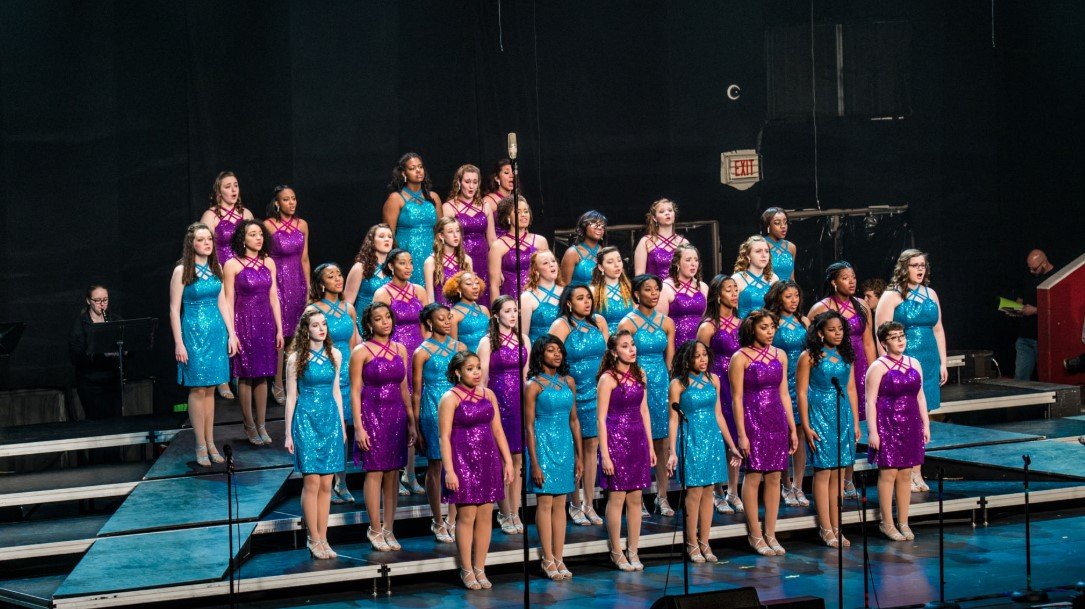
- improve visibility (everyone can be seen, not just the front row)
- improve sound projection (voices carry forward more evenly)
- improve organisation (clear rows reduce chaos)
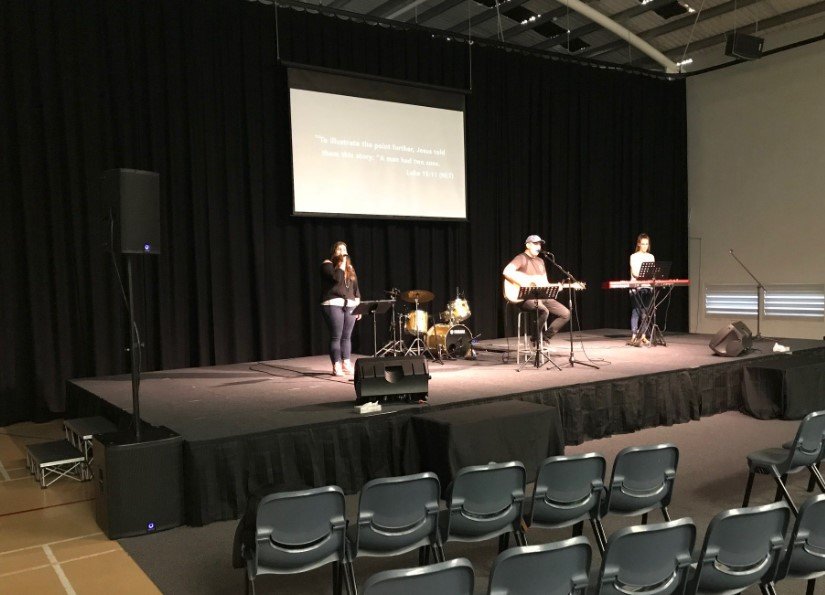
For school concerts, assemblies, open evenings, and carol services, risers turn a “group of pupils” into a proper stage-ready choir.
Step 1: Choose the Right Type of Choir Risers for Your School
Not all risers suit school halls. Choose based on how often you use them and how you store them.
A) Folding (accordion-style) choir risers
Best for: schools with limited storage and fast setups
Pros: quick to deploy, compact storage
Watch out: check stability and locking reliability
B) Modular platform risers (tiered decks)
Best for: schools that do bigger performances and varied layouts
Pros: strong stability, expandable, multi-use (stage + choir)
Watch out: more components to store and move
C) Lightweight classroom risers
Best for: smaller groups, younger pupils, smaller venues
Pros: easy handling
Watch out: may not scale for full choirs or productions
School reality: If your concerts happen multiple times per term, you want a system that sets up fast without tools and stores neatly.
Step 2: Plan Your Choir Layout (Visibility + Safety + Comfort)
Before you buy or set up, decide:
- how many pupils typically sing at once
- whether you need 2-tier or 3-tier
- how much floor space you have on the day (hall size varies with seating layouts)
Tier guide (simple and practical)
- 2-tier: small to medium choirs, lower risk, quicker setup
- 3-tier: better visibility for bigger choirs, needs stronger safety planning
Spacing that reduces pushing and panic
Give enough depth so pupils aren’t standing heel-to-edge. This matters more than you think—especially with younger singers.
Tip: If pupils are shoulder-to-shoulder, they’ll shift and bump. That’s when balance goes.
Step 3: Safety First—What Schools Must Prioritise
Choir risers are different from normal stages because:
- lots of people stand close together
- they move in sync (turning pages, swaying, stepping)
- students can step backwards without noticing
Anti-slip is non-negotiable
- non-slip surface in good condition
- dry and clean before use
- no loose fabric or curled skirting near feet
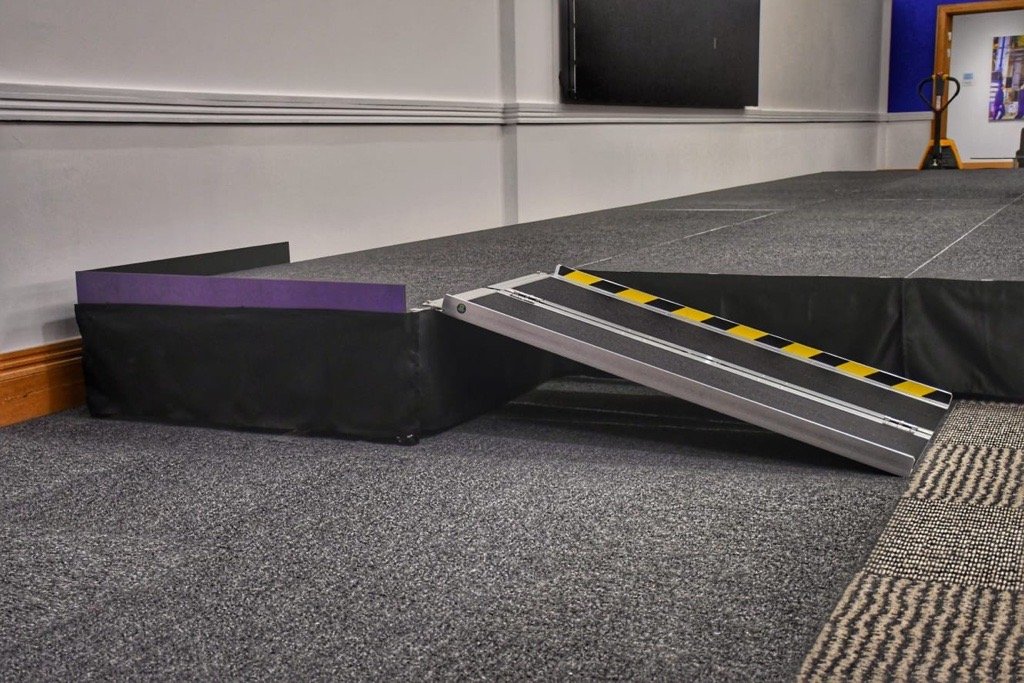
Edges must be obvious
Use:
- contrast edge marking (tape or built-in edging)
- clean skirting that doesn’t flap or curl
Weight distribution matters
Avoid:
- everyone clustering on one end
- pupils stepping on/off from the side
- bags on the risers
Set clear entry/exit points and enforce them.
When to Use Rails on Choir Risers (Schools)
Rails aren’t about “overreacting”. They’re about preventing the exact fall that everyone thinks won’t happen.
Rails are strongly recommended when:
- you have 3-tier choir risers
- pupils are primary age
- the concert lighting is dim
- the choir will enter/exit quickly
- there’s any chance of stepping backwards (common during performances)
Where rails help most
- back rail: stops backward steps off the top tier
- side rails: protects edges during entry/exit
If you’re torn, choose rails. A clean rail looks better than a risky setup.
Step 4: The Fast Setup Method (That Works in Real School Time)
Here’s a setup routine built for busy UK schools.
1) Prep the floor (2 minutes)
- sweep or wipe dust
- remove tape residue and debris
- check for wet patches (especially after PE)
2) Mark the riser position
Use floor tape for:
- front edge line
- centre line
- entry point
This speeds setup and helps repeat the same safe placement every event.
3) Assemble and lock
Whatever your system uses—pins, clamps, or magnetic locks—your rule is:
✅ lock fully
✅ confirm locks are engaged
✅ do a pull test at joins
4) Stability test (the no-wobble rule)
- step on each corner
- walk the front edge
- apply a gentle sideways push
If it rocks, fix it now. Don’t hope it settles.
5) Add rails (if used)
- check rail wobble
- ensure no sharp points
- confirm rails don’t block entry/exit
6) Assign a stage marshal
One staff member controls:
- how pupils step on/off
- where they stand
- keeping the edges clear
It stops “everyone at once” chaos.
Step 5: Storage Tips That Save You Next Term
This is where schools win or lose time. A great riser system becomes useless if it’s stored badly.
1) Store as a complete “choir kit”
Keep together:
- riser sections
- rails
- connectors/pins/clips
- edge tape (if used)
- setup guide (laminated)
- a quick-clean cloth
No scattered parts = no missing parts.
2) Label everything
Label:
- Tier 1 / Tier 2 / Tier 3
- Left / Centre / Right
- Rails (back vs sides)
This turns setup into “follow the labels”, not “figure it out”.
3) Use a storage trolley if possible
A trolley:
- reduces lifting injuries
- prevents damage
- speeds setup and pack-down
4) Store where it’s accessible
Best locations:
- near the hall
- near drama/music storage
- not behind heavy PE equipment
If you have to move ten things to reach the risers, people won’t use them.
5) Create a 30-second pack-down rule
Before storage:
- wipe surfaces
- check locks and parts
- note any damage on a tag
That tiny habit prevents surprises on concert day.
Bonus: How to Make Choir Risers Look Better on Stage
A neat visual makes the whole performance feel professional.
- Use clean skirting (no sagging fabric)
- Align risers square to the audience
- Keep backpacks off-stage
- Place the conductor so they’re visible without blocking the front row
- Check sightlines from the back row with a phone camera
If parents can see faces, you’ll feel the difference instantly.
The Buying Checklist for School Choir Risers (UK)
Before you commit, confirm:
- ✅ number of tiers you need
- ✅ non-slip surface quality
- ✅ stable locking mechanism
- ✅ rail compatibility (especially for 3-tier)
- ✅ storage footprint and trolley options
- ✅ setup time realistic for staff
- ✅ durability for heavy school use
Ready for Faster Setup and Cleaner Storage?
Portable choir risers should make school concerts easier—not more stressful. If you want a system that sets up quickly, feels solid underfoot, and stores neatly for repeat events, explore NexGen solutions built around magnetic lock free portable stage systems—designed for busy schools that need reliable staging without drama.
Need reliable choir risers for your school, hall, or performance space? Explore NexGen portable staging solutions for safer setup, smarter storage, and professional results every time.
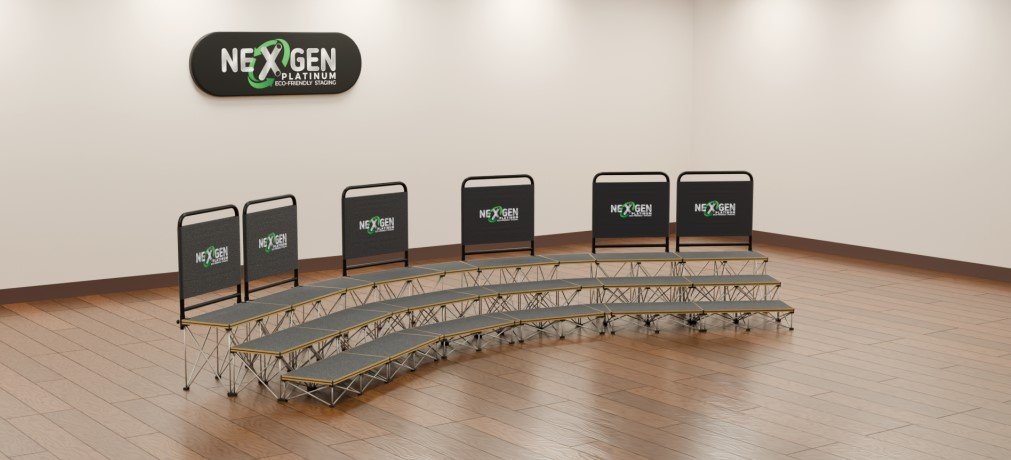
🛒 Shop NexGen 3 Tier Portable Choir Risers
Also Read:
#portableeventstaging
#modularstagesystemsuk
#speakerpodiumstagesolutions